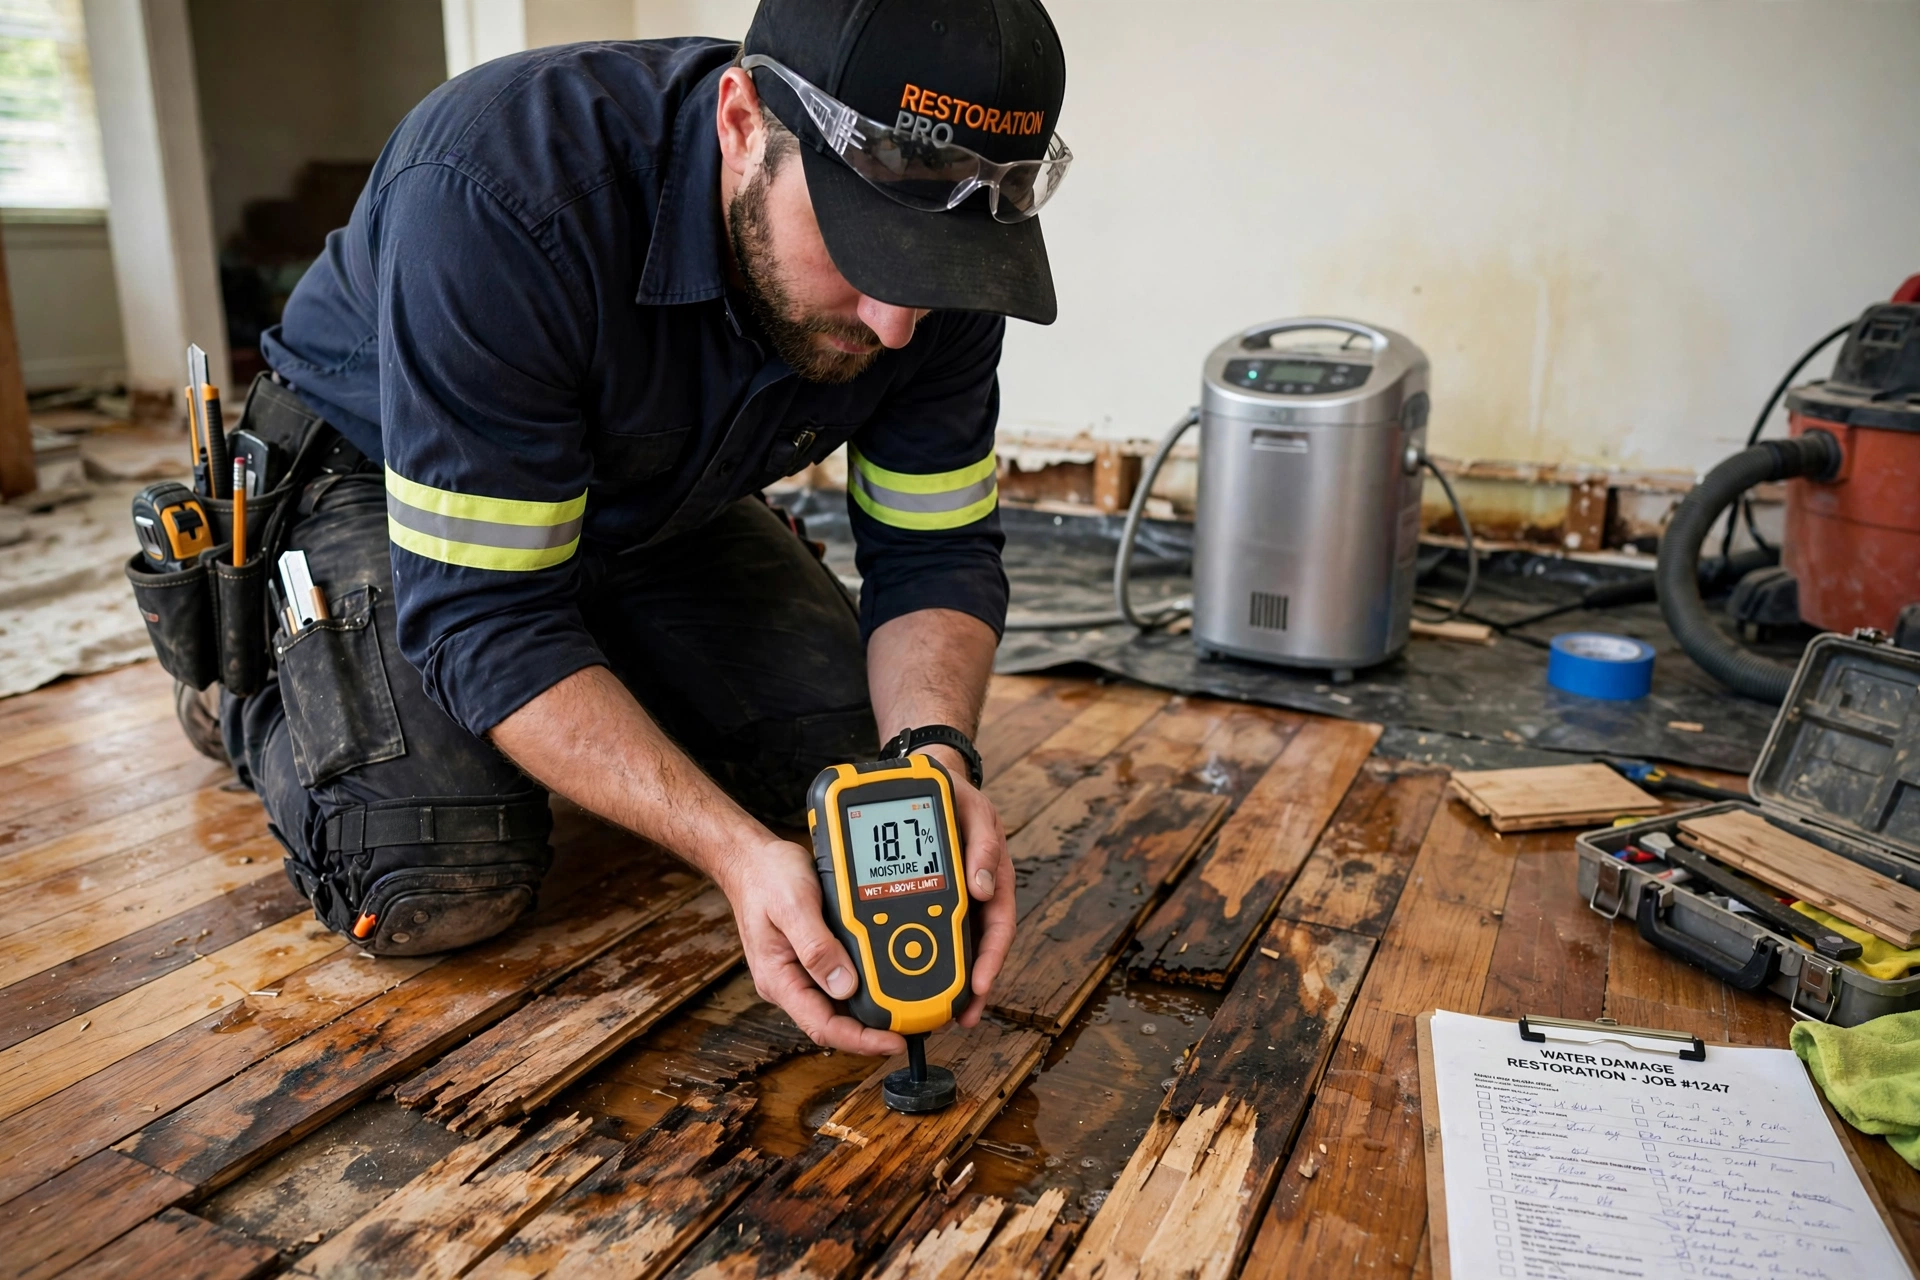
Hardwood floors bring natural warmth, character, and long-lasting appeal to a home. However, water leaks, plumbing failures, appliance overflows, and excessive humidity can cause serious problems for wood flooring. Even a small amount of moisture that remains trapped beneath the surface can lead to cupping, swelling, discoloration, and separation between boards. Effective hardwood floor water damage repair begins with identifying the moisture source, measuring the extent of the damage, and allowing the wood to dry under controlled conditions.
The good news is that not every water-damaged hardwood floor needs to be replaced. Some floors recover when moisture levels return to an appropriate range, while others require sanding, refinishing, board replacement, or more extensive repairs. Understanding the difference is essential for avoiding unnecessary work and preventing the damage from returning.
This guide explains how to identify water damage, fix cupped hardwood floors, use hardwood floor drying mats, measure wood moisture content, and determine when sanding and refinishing may be appropriate. If you are considering professional assistance, contact MGx Hardwood Care to confirm whether hardwood water damage assessment, structural drying, or restoration services are currently available.
Understanding Hardwood Floor Water Damage
Wood is a natural, porous material that responds to changes in moisture. When hardwood absorbs water, its cells expand. As the wood dries, it gradually releases moisture and contracts. Problems occur when moisture enters unevenly, remains trapped beneath the floor, or causes the boards to expand beyond the available space.
The extent of the damage depends on the wood species, board thickness, installation method, finish, water exposure, and conditions beneath the flooring.
Common Causes of Water Damage
Several sources of moisture can affect hardwood flooring.
Plumbing leaks: Leaking pipes, supply lines, and fittings can introduce water beneath the flooring.
Appliance failures: Washing machines, dishwashers, and refrigerators can release water into nearby rooms.
Roof and window leaks: Rainwater may enter through damaged roofing, windows, or exterior walls.
Flooding: Significant water exposure can affect the flooring, subfloor, and structural materials.
High indoor humidity: Prolonged humidity can increase wood moisture content even without a visible leak.
Wet cleaning practices: Excessive water during mopping can damage floors that manufacturers do not design for wet cleaning.
Identifying the source is the first step in successful hardwood floor water damage repair. If the leak or moisture problem continues, repairs to the visible surface may provide only temporary improvement.
Signs Your Hardwood Floor Has Water Damage
Water damage does not always appear immediately. Some changes become noticeable within hours, while others develop over several days as moisture moves through the wood and subfloor.
Cupping: When Board Edges Rise
Cupping occurs when the edges of a hardwood board sit higher than its center, creating a shallow, concave shape across the board’s width.
This often happens when the underside of the flooring contains more moisture than the upper surface. The difference in moisture content causes uneven expansion, which changes the board’s shape.
How to Recognize Cupping
Look for raised board edges, slight dips along the center of individual planks, and unevenness that becomes more noticeable under angled lighting. Cupping may affect a small area near a leak or extend across a larger section of the room.
Cupping can sometimes improve after you correct the moisture imbalance and the wood dries. However, severe or prolonged cupping may leave permanent deformation.
Buckling: When Boards Lift From the Floor
Buckling is generally more severe than cupping. It occurs when hardwood boards expand and lift away from the subfloor, sometimes creating a raised ridge or tent-like section.
Wood expands as it absorbs moisture. If there is insufficient room for that expansion, pressure can build between boards and cause sections of flooring to lift.
Why Buckling Requires Prompt Attention
Buckled boards can create tripping hazards and may indicate significant moisture exposure. Water may also have affected the subfloor, adhesives, fasteners, or nearby structural materials.
Avoid forcing lifted boards back into position. Inspect the floor to determine whether it needs drying, reinstallation, board replacement, or subfloor repairs.
Other Warning Signs
Additional indicators of water damage include:
Dark stains or gray discoloration.
Gaps that appear as the wood dries.
Peeling, blistering, or cloudy surface finishes.
Musty odors or visible mold growth.
Soft or deteriorated subfloor areas.
Changes in board height or movement underfoot.
If water exposure is substantial, electrical hazards or structural damage may also be present. Address immediate safety concerns before beginning flooring work.
Step One: Stop the Water and Assess the Damage
Before attempting to fix cupped hardwood floors, identify and stop the moisture source. Drying equipment cannot provide a lasting solution while water continues entering the floor assembly.
Find and Correct the Moisture Source
Inspect the affected room and nearby areas for plumbing leaks, damaged appliances, roof leaks, or water intrusion. If the source is not obvious, you may need a qualified plumber or water-damage professional.
If water has contacted electrical outlets, wiring, or electrical equipment, avoid the affected area until a qualified professional has assessed it and made it safe.
Inspect the Flooring and Subfloor
The visible hardwood surface may not show the full extent of the problem. Moisture can travel through joints and collect underneath the boards, especially when installers lay the floor over plywood, concrete, or another subfloor assembly.
A professional assessment may include checking board movement, measuring moisture in the hardwood and subfloor, inspecting nearby walls, and identifying areas that may trap water.
Document the Damage
Photographs, moisture readings, and notes about when the leak occurred can help track changes during drying. This documentation may also be useful when discussing repairs with an insurer or restoration contractor.
Hardwood Floor Drying Mats: How They Work
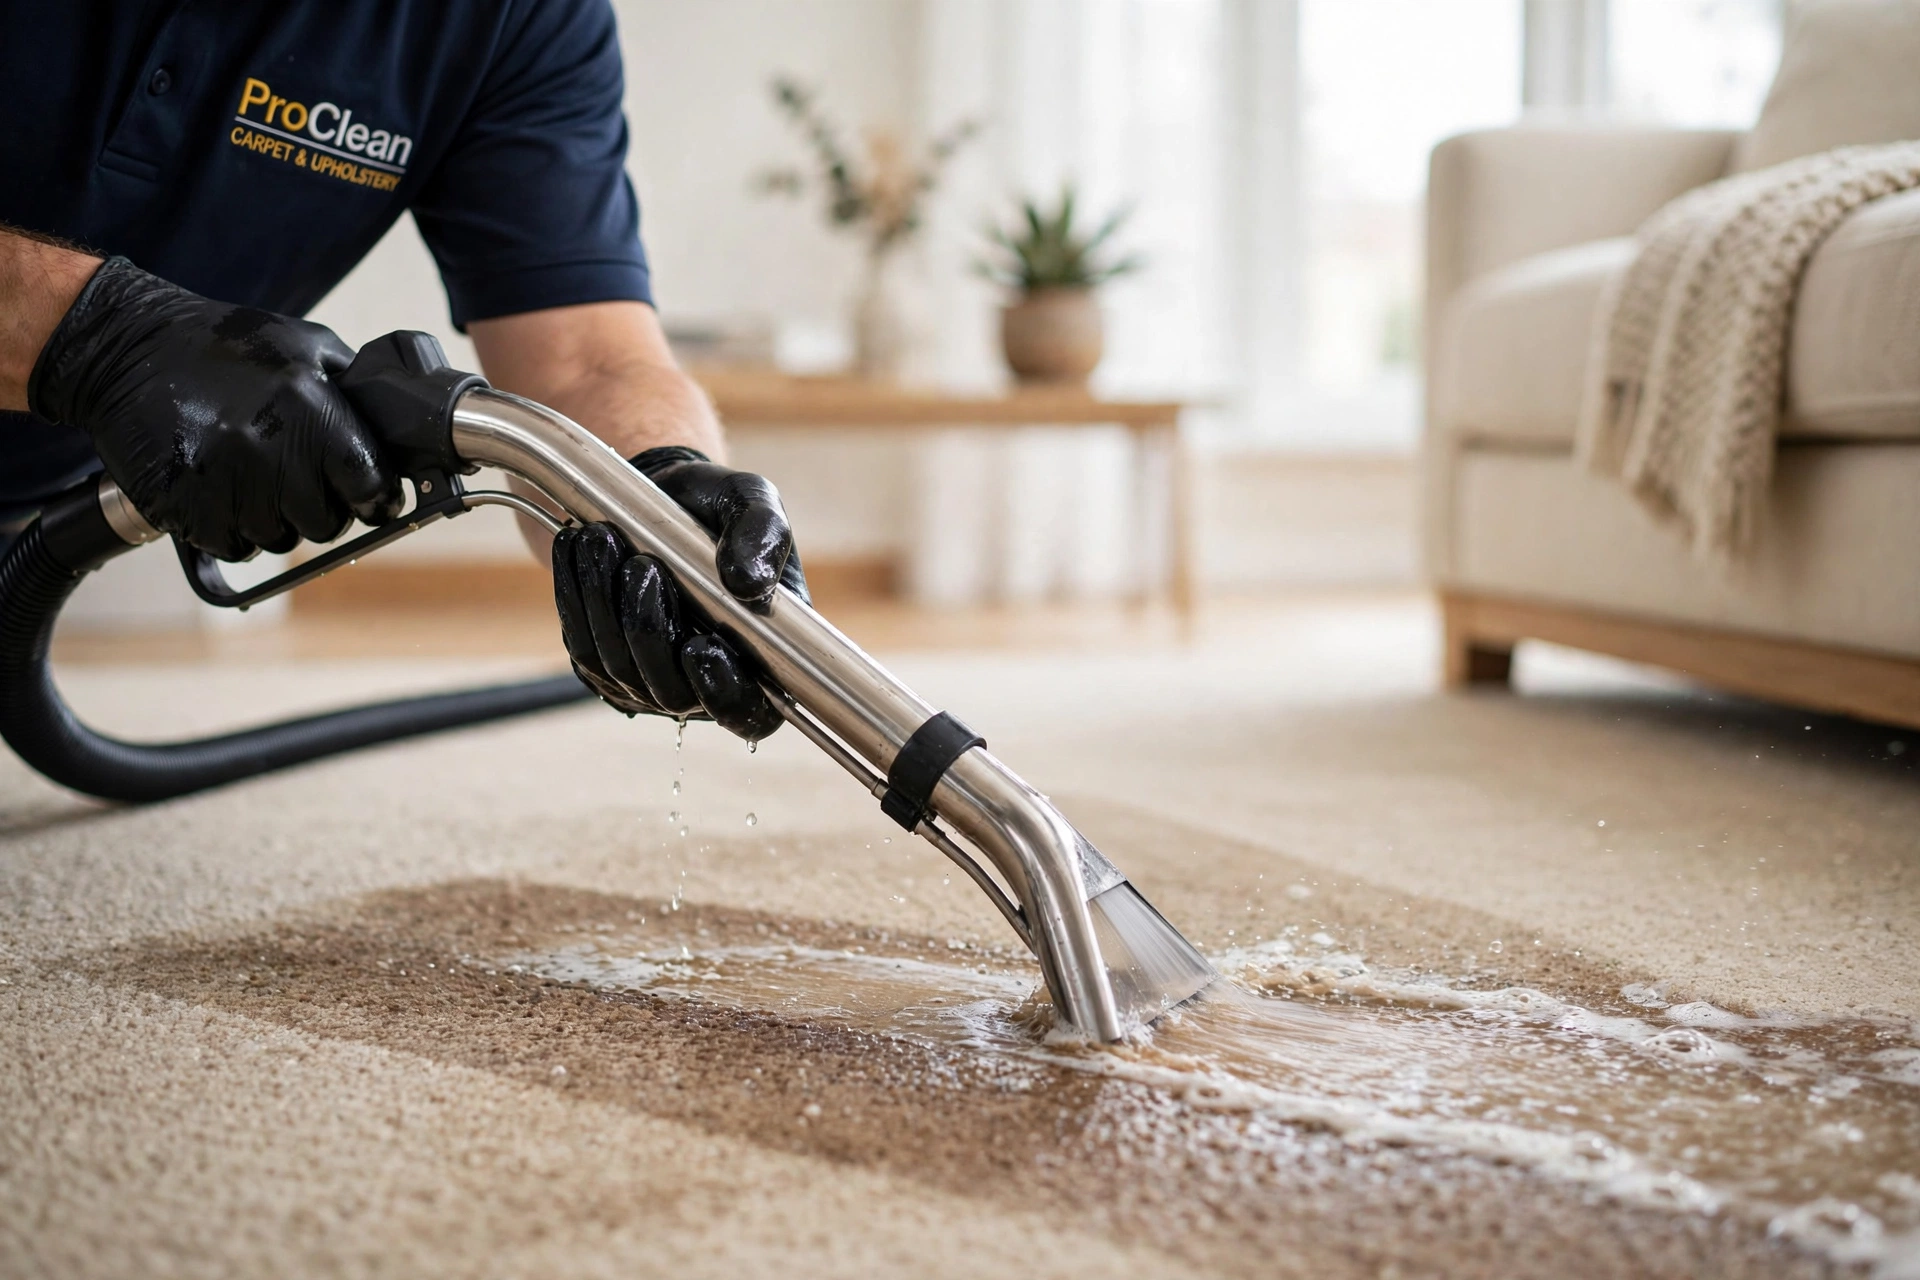
Manufacturers design hardwood floor drying mats as specialized drying systems to help remove moisture from affected flooring. Depending on the system, technicians place a mat or sealed panel over a selected section of the floor and connect it to equipment that creates controlled airflow, vacuum-assisted extraction, or another drying mechanism.
The purpose is to encourage moisture to move out of the affected flooring and, where the system’s design allows it, from beneath the surface.
The Drying Process
A typical controlled drying process involves several stages.
Step 1: Establish Baseline Moisture Levels
Before technicians install the equipment, they take moisture readings from the affected hardwood, nearby unaffected boards, and the subfloor where accessible. These readings help establish the starting condition.
Step 2: Position the Drying Mats
Technicians place the drying system over the affected area according to the manufacturer’s instructions. The setup depends on the floor’s construction, the moisture distribution, and whether the flooring is solid wood, engineered wood, or sits over concrete.
Step 3: Control the Drying Environment
Technicians may use drying mats alongside dehumidifiers and air movement equipment. The goal is to remove moisture gradually while limiting additional stress on the wood.
Aggressive or uneven drying can cause excessive shrinkage, cracking, checking, or gaps. Therefore select equipment settings according to the flooring type and the conditions on site.
Step 4: Monitor Progress
Repeat moisture readings during the process. A floor that feels dry on the surface may still contain elevated moisture below the boards.
Drying should continue until measurements and site conditions indicate that the affected materials have reached an appropriate and stable moisture condition.
Are Drying Mats Suitable for Every Hardwood Floor?
No. Drying mats are not appropriate for every flooring assembly or damage scenario. Their effectiveness depends on the system, the amount of water, the floor’s finish, the installation method, and whether moisture can be safely extracted through the available pathways.
Some floors require access beneath the flooring, removal of damaged materials, or alternative drying methods. Severe buckling, delamination, or structural deterioration may not be reversible through drying alone.
Dehumidification and Moisture Equilibrium
Drying hardwood floors is not simply a matter of making the room feel less humid. You must bring the moisture content of the wood into a suitable relationship with the surrounding environment.
Understanding Equilibrium Moisture Content
Wood exchanges moisture with the air around it. Specialists call the moisture content it tends toward under a particular temperature and relative humidity its equilibrium moisture content (EMC).
When indoor humidity remains high, hardwood may absorb moisture from the air. When the air is very dry, the wood may release moisture and shrink.
A restoration professional considers temperature, relative humidity, wood species, and the floor’s normal indoor environment when evaluating drying progress.
Why Controlled Dehumidification Matters
Dehumidifiers remove water vapor from the air, helping create conditions that encourage the flooring to release moisture. Air circulation can support the process, while monitoring helps prevent unnecessarily rapid or uneven drying.
Avoiding Excessive Drying
The objective is not to dry hardwood as quickly as possible at any cost. Overly aggressive drying may create gaps, cracks, surface checking, or other problems.
The appropriate drying rate depends on the floor construction, initial moisture level, and environmental conditions. A controlled approach helps balance moisture removal with the need to protect the wood.
Allowing the Floor to Stabilize
A floor may continue changing shape after the initial drying phase. Review moisture readings, board profiles, and environmental conditions over time before deciding whether the floor is ready for sanding or refinishing.
Rushing to sand a cupped floor while moisture levels remain unstable can lead to an uneven result after the boards finish drying.
Wood Flooring Moisture Test: Measuring the Condition of the Floor
A wood flooring moisture test helps determine whether the hardwood and its supporting materials contain more moisture than expected. Testing also provides a way to monitor progress and decide when repairs can safely proceed.
Moisture Meters for Hardwood Floors
Two common types of moisture meters are pin-type and pinless meters.
Pin-Type Moisture Meters
Pin-type meters use small electrodes inserted into the material to estimate moisture content. They can provide useful readings at selected points, although the measurement may leave small holes in the surface.
Wood species, temperature, meter settings, and other factors may affect the readings.
Pinless Moisture Meters
Pinless meters use sensors to assess moisture-related properties without inserting pins into the surface. They are useful for screening larger areas and comparing affected locations with reference areas.
However, the flooring’s thickness, density, installation layers, and materials beneath it can influence readings. A pinless meter may identify a potential problem without determining the exact moisture content of every layer.
Comparing Affected and Unaffected Areas
A single reading rarely tells the whole story. Take measurements at multiple locations and compare them with appropriate unaffected areas, taking wood species and construction into account.
This comparison helps identify moisture patterns and determine whether the floor is approaching its expected condition.
What Moisture Readings Mean
There is no single moisture-content target that applies to every hardwood floor. Appropriate readings depend on the species, local indoor conditions, flooring specifications, and normal equilibrium conditions.
A qualified professional should interpret the readings in context rather than relying on a universal percentage.
Testing the Subfloor
The subfloor matters because moisture can remain trapped beneath the hardwood even after the upper surface appears dry. Depending on the construction, assessment may require access to the underside of the flooring or specialized measurement methods.
Before installing replacement boards or applying a new finish, confirm that the subfloor is sufficiently dry and structurally sound for the intended repair.
How to Fix a Cupped Hardwood Floor
The right way to fix a cupped hardwood floor depends on whether the shape change is temporary or permanent. In many cases, correcting the moisture imbalance is the first priority.
Allow Controlled Drying Before Sanding
When cupping results from excess moisture, the boards may gradually flatten as the moisture content becomes more uniform. This process can take time, and the amount of recovery varies.
Do not immediately sand the raised edges. If you sand the floor while the boards remain cupped, the surface may become uneven after the wood dries and returns closer to its original shape.
Assess Whether the Boards Have Recovered
After drying, inspect the flooring for remaining cupping, gaps, cracks, discoloration, loose boards, and finish damage. Repeat moisture measurements to confirm that conditions are stable.
If the boards return close to their original profile and the surface finish remains serviceable, extensive repairs may not be necessary.
When Cupping Does Not Disappear
Some boards remain permanently deformed after prolonged exposure to water. In these situations, a professional may recommend selective sanding, board replacement, or partial floor replacement.
The decision should account for the depth of the deformation, the thickness of the usable wood layer, the condition of the subfloor, and the type of flooring.
Repairing Water-Damaged Wood Floors Through Sanding and Refinishing
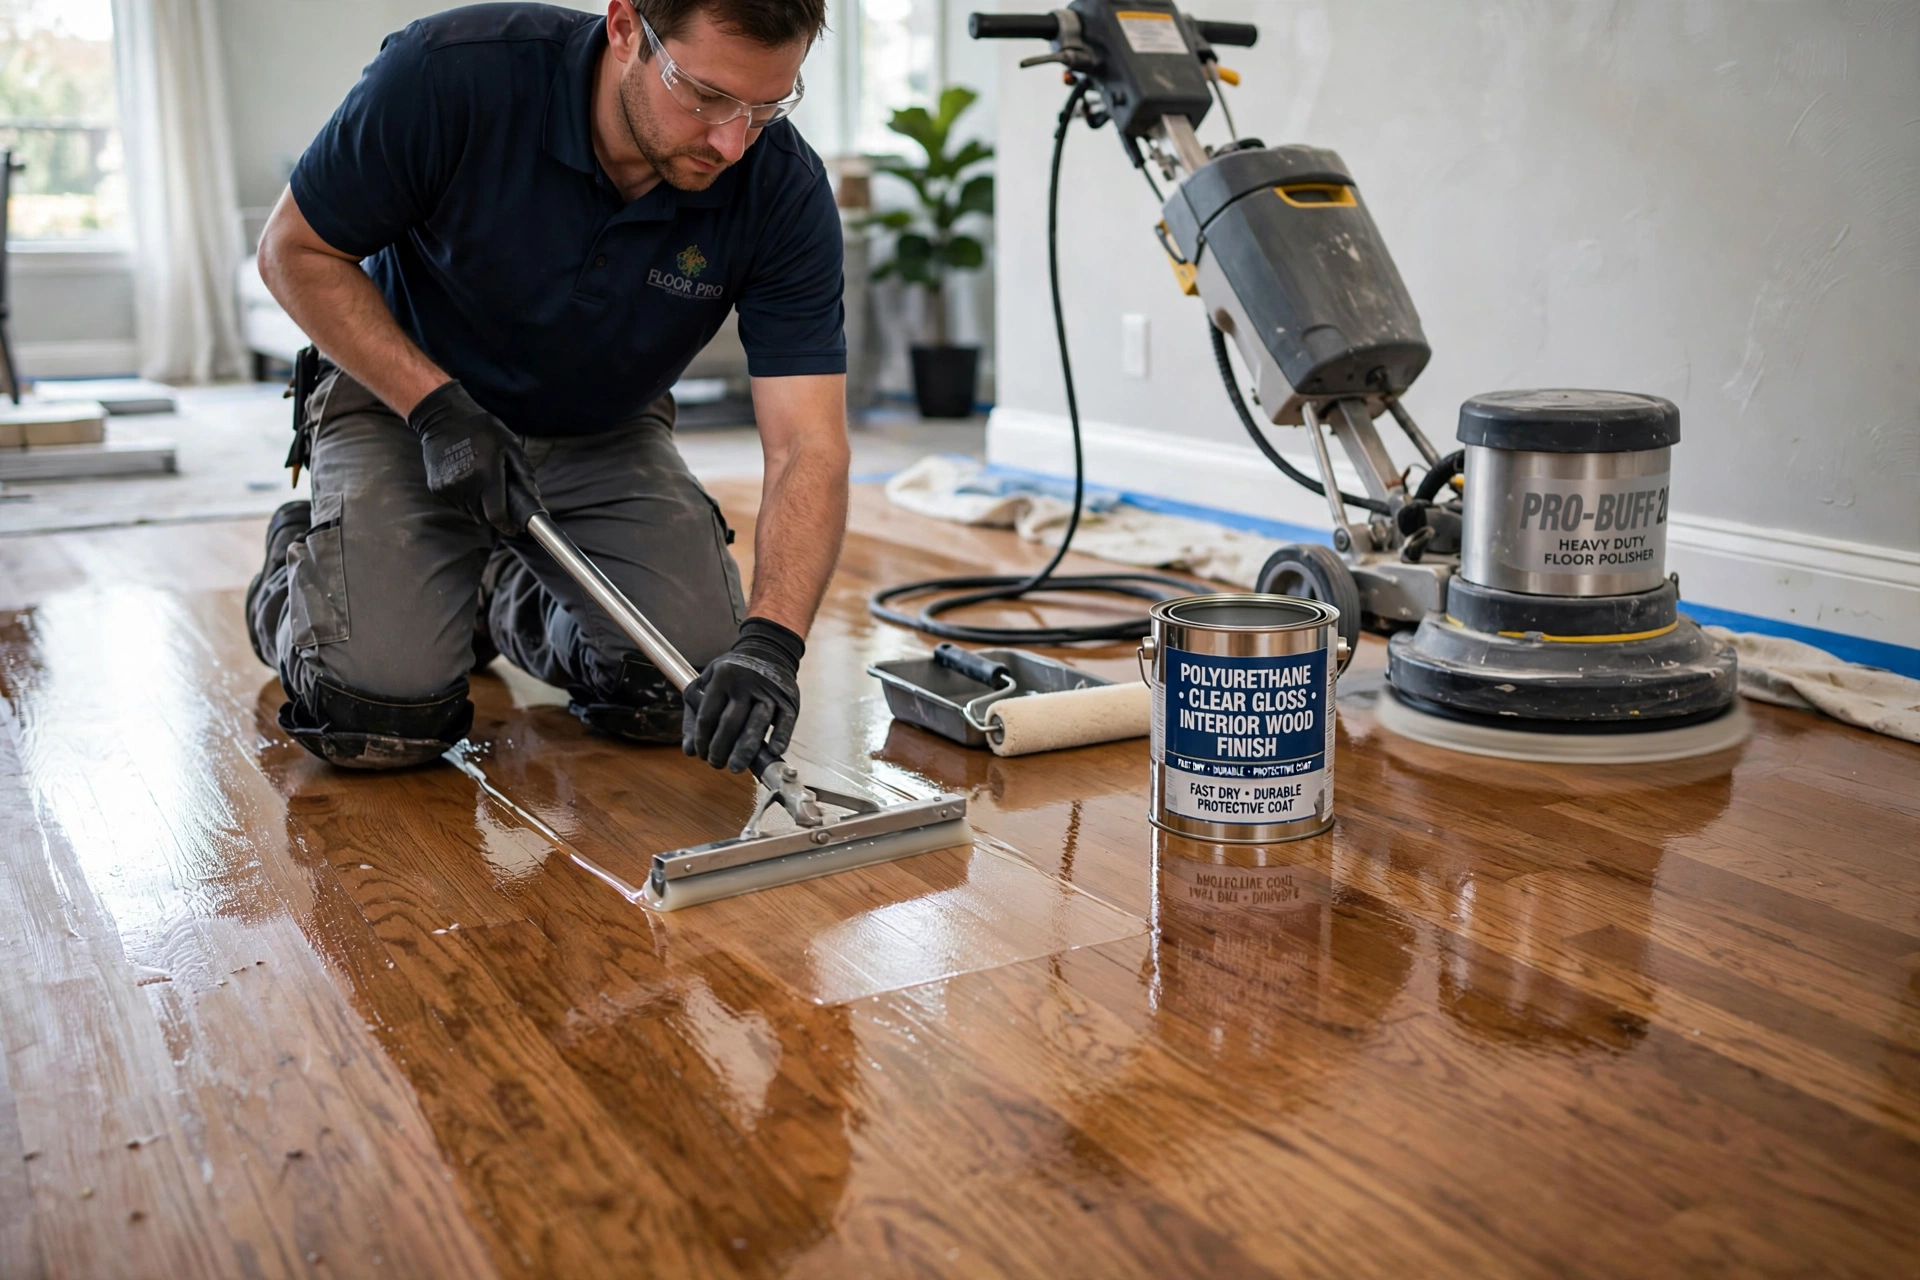
Once the floor and subfloor have dried adequately and moisture conditions are stable, sanding and refinishing may restore the appearance of a damaged surface.
However, do not use refinishing to conceal an unresolved moisture problem or structural damage.
When Sanding Is Appropriate
Sanding may help address surface discoloration, finish damage, minor unevenness, and some residual deformation. Its suitability depends on the flooring construction and how much usable wood remains.
You can often sand solid hardwood, depending on its thickness and previous refinishing history. Engineered hardwood has a thinner real-wood wear layer, so aggressive sanding may not be possible.
The Post-Drying Refinishing Process
A typical restoration sequence may include:
Confirm that the flooring and subfloor have dried to appropriate, stable moisture conditions.
Repair or replace loose, damaged, or structurally unsound boards.
Sand the surface where the flooring construction permits it.
Remove sanding dust and prepare the wood for finishing.
Apply a compatible stain, if required, followed by the selected protective finish.
Follow the finish manufacturer’s drying and curing instructions before returning furniture or heavy foot traffic.
Matching the Existing Finish
Water damage can cause color changes that do not disappear with sanding alone. You may need a test area to evaluate stain color and finish compatibility.
For older floors, matching the surrounding boards can be challenging because sunlight, wear, and previous maintenance may have changed the original color.
When Board Replacement Is Better
Boards that are severely swollen, split, delaminated, or structurally weakened may need replacement rather than sanding. Replacing damaged sections can preserve the rest of the floor when the surrounding material remains sound.
For extensive buckling or widespread damage, a broader repair may be more practical.
When Hardwood Floor Replacement May Be Necessary
Restoration cannot save all water-damaged flooring. Replacement may be necessary when boards have lost structural integrity, engineered layers have separated, the subfloor has deteriorated, or technicians cannot adequately address contamination.
Severe Buckling and Delamination
If boards have lifted substantially or engineered layers have separated, drying may not restore their original shape or bond. Professionals should evaluate damaged sections to determine whether they can repair them safely.
Persistent Moisture or Subfloor Damage
If the subfloor remains wet, soft, or damaged, replacing only the visible hardwood will not solve the underlying issue. Professionals must assess and repair the supporting structure before installing new flooring.
Mold and Prolonged Water Exposure
Persistent moisture can create conditions that support mold growth. If there is visible growth, a persistent musty odor, or extensive water exposure, seek appropriate professional assessment. Do not simply cover the affected materials with new flooring.
The priority is to correct the moisture source, assess the affected materials, and follow suitable remediation procedures before rebuilding the floor.
Preventing Future Hardwood Floor Water Damage
Preventive maintenance can reduce the likelihood of repeat damage and help homeowners respond quickly when leaks occur.
Address Leaks Immediately
Inspect plumbing connections, appliance hoses, and visible pipes periodically. Replace worn components and investigate unexplained dampness or water stains before they affect a larger area.
Clean Hardwood Floors Carefully
Follow the flooring manufacturer’s care instructions. Avoid wet mopping or leaving standing water on hardwood, and use cleaning products designed for the specific finish.
Manage Indoor Humidity
Maintain indoor temperature and humidity within the range recommended by the flooring manufacturer. Seasonal changes can affect wood movement, especially in homes with substantial humidity fluctuations.
Inspect Vulnerable Areas
Pay attention to kitchens, bathrooms adjacent to hardwood, exterior doors, windows, and rooms containing water-using appliances. Promptly investigate discoloration, unusual odors, or changes in board height.
Respond Quickly After Water Exposure
If a spill or leak occurs, stop the source if it is safe to do so and remove standing water promptly. For substantial water exposure, arrange an assessment rather than assuming the surface will dry on its own.
How MGx Hardwood Care Can Help With Water-Damaged Flooring
Water-damaged hardwood requires a careful assessment because visible changes do not always reveal the full extent of the problem. A successful repair may involve moisture testing, controlled drying, board repairs, sanding, refinishing, or replacement of damaged materials.
You can contact MGx Hardwood Care to discuss hardwood flooring concerns and confirm which restoration services it currently provides. Before scheduling, ask whether the company handles water-damaged hardwood, moisture testing, drying coordination, cupping repairs, sanding, and refinishing. Confirm these specific capabilities directly.
Questions to Ask Before Booking
When speaking with a flooring professional, consider asking:
Can you test moisture levels in the hardwood and subfloor?
How will you determine whether the floor is ready for sanding?
Do you use hardwood floor drying mats or coordinate specialized structural drying?
Can damaged boards be repaired individually, or is replacement necessary?
Will the existing finish and color be reasonably matchable?
How will you confirm that the original moisture source has been addressed?
These questions help clarify the repair process and establish realistic expectations before work begins.
Final Thoughts
Hardwood floor water damage repair starts with identifying the source of moisture and determining how deeply the flooring assembly has been affected. Cupping and buckling may indicate uneven moisture levels, but the appropriate repair depends on the severity of the damage, the type of wood flooring, and the condition of the subfloor.
Hardwood floor drying mats, controlled dehumidification, and accurate wood moisture content testing can help guide the drying process. Once the materials have stabilized, sanding and refinishing may restore some damaged floors, while severely deformed or weakened boards may require replacement.
The most important step is to avoid rushing the process. Drying, testing, and assessment should come before cosmetic repairs so that a new finish does not hide problems.
If your hardwood flooring has cupped, buckled, or developed water stains, contact MGx Hardwood Care to ask about its current flooring restoration services. A professional assessment can help you understand the available options and choose a practical path toward restoring your floor.